The thrill inherent to outdoor exploration is undeniable – nothing quite compares to feeling the earth crunch beneath your feet and witnessing firsthand Mother Nature’s splendor. From experienced hikers to casual adventurers alike, we all know that our reliable hiking boots are our best companions on any journey into nature. They provide support on rocky terrains, offer protection against harsh weather, and carry you mile after mile towards breathtaking views. Yet, like any loyal friend, they need care and attention to stay in their best shape.
Investing in a quality pair of hiking boots is only the first step. Maintaining them properly is what ensures their durability and performance in the long run. But how do you do it? What are the signs that your boots need cleaning? How can you effectively clean them without causing damage? What about conditioning, waterproofing, and storage?
Today, We’ll provide a comprehensive guide on how to clean and care for your hiking boots, so they can continue to serve you on countless adventures. As we venture into the world of boot maintenance, you’ll discover that with the right care, your hiking boots will keep your feet comfortable, your strides confident, and your hiking experiences unforgettable.
Understanding Your Hiking Boots

The humble hiking boot may deceive with its unassuming appearance, yet these seemingly simple shoes are actually finely crafted works of engineering intended to endure the unforgiving conditions of trekking through nature. To care for them properly, we need to delve into their composition and history, which sheds light on why different materials require different care.
Brief History of Hiking Boots
The genesis of hiking boots can be pinpointed to the start of the 20th century a time when resilient alpinists demanded tough and sturdy footwear that could endure the challenging and rugged conditions found in mountainous regions. These boots were traditionally made from full-grain leather, recognized for its durability and water-resistance.
Over time, hiking boots evolved, branching out to cater to different types of hikers. From mountaineering boots designed for high-altitude treks to lightweight boots for casual hikers, the diversity in today’s market ensures there’s a boot for every foot and trail.
Types of Hiking Boots and Their Materials
Today’s hiking boots come in a range of materials. Full-grain leather boots, reminiscent of their historical counterparts, offer excellent durability and water-resistance, making them perfect for rugged terrains and long treks. However, they require a significant break-in period and can be heavier than their counterparts.
Suede and nubuck leather boots offer a balance of flexibility and durability. They’re often lighter than full-grain leather boots, but they require regular treatment to maintain water-resistance.
Individuals seeking comfortable and practical footwear might appreciate synthetic boots fashioned using nylon or polyester. Such materials afford numerous benefits like a reduction in weight, greater breathability and faster breaking-in time. However, they tend to show wear and tear sooner.
Understanding the Different Parts of a Hiking Boot
A hiking boot is more than its outer material. The midsole provides cushioning, the outsole grips the terrain, and any waterproof membranes or insulation add to the boot’s functionality. Knowing these parts and their role can help you assess your boot’s condition and determine the proper care.
As we proceed to the following sections, we shall explore the techniques on how to take care of diverse boot types. These approaches assure that our footwear stays clean, cozy and fit for navigating any challenging trail.
Caring for Hiking Boots

Your hiking boots are designed to be tough, to endure muddy trails, rocky paths, and rushing streams. Although these constructions are robust, wear and tear can still affect them. Regular cleaning and care play a critical role in keeping your boots trail-ready for longer.
Hiking Boot Lifespan and Maintenance
Even the best hiking boots have a lifespan. Most commonly observed amongst hikers is an average lifespan range consisting of approximately 500 to 1,000 miles for a well-cared-for pair of hiking boots. Yet this estimate remains highly variable given several parameters including shoe construction specifics and terrain encountered during usage that might significantly shorten or extend their lifespan — with adequate care being non-negotiable towards longevity. Regular cleaning and care can help maximize your boots’ lifespan, ensuring that they stay functional and comfortable for many hiking seasons.
The Importance of Well-Maintained Hiking Boots
Well-maintained hiking boots do more than just last longer. They also contribute to a better hiking experience. Clean boots are more comfortable, preventing blisters and other discomforts. Properly conditioned boots remain flexible, reducing the risk of cracks and wear. Waterproofed boots keep your feet dry in wet conditions, adding to your overall comfort and safety on the trail.
Problems with Neglected Boots
Neglecting your boots can lead to a host of problems. Dirt and grime can degrade the materials, reducing their durability. Moisture trapped inside can lead to unpleasant odors and even mold growth. Over time, neglected boots become less comfortable and less effective at protecting your feet, possibly leading to foot problems or injuries on the trail.
When to Clean Your Hiking Boots
In the world of hiking, knowing how and when to clean your boots stands as crucial knowledge. Overlooking this aspect of hiking gear upkeep can bring about consequences such as reduced durability and discomfort on hikes. It’s a balance between not letting dirt and grime build up and not over-cleaning, which can wear out the materials. Let’s look at the signs that your boots are ready for a clean.
Identifying When Boots Need Cleaning
A good rule of thumb is to clean your boots whenever they’re visibly dirty. As someone who values higher education and has a passion for nature exploration through hiking expeditions, proper equipment maintenance is undoubtedly top of mind. With this in mind remember to inspect your boots after each adventure for any signs of mud or debris accumulation – an obvious indicator that they require attention and cleaning to maintain their longevity. Don’t wait for the dirt to become ingrained in the material, as it becomes harder to remove and can damage the fabric over time.
Signs to Clean from Wear and Tear
Sometimes, wear and tear signs can indicate that your boots need a clean. If the colors look faded, the material appears stiff or dry, or the boots are starting to smell, these could all be signs that dirt and sweat have accumulated and it’s time for a clean.
Effect of Terrain and Climate on Boot Cleanliness
The frequency of cleaning also depends on the terrains and climates you’re hiking in. Hiking in damp or muddy conditions may lead to the need for cleaning your boots post-hike. However, when hiking on dry and pristine ground conditions you may embark upon several hikes without concern for cleansing until necessary.
Remember, regular cleaning not only keeps your boots looking good but also extends their lifespan and ensures they perform at their best on the trail.
Guide to Cleaning Hiking Boots


Removing Dirt and Debris
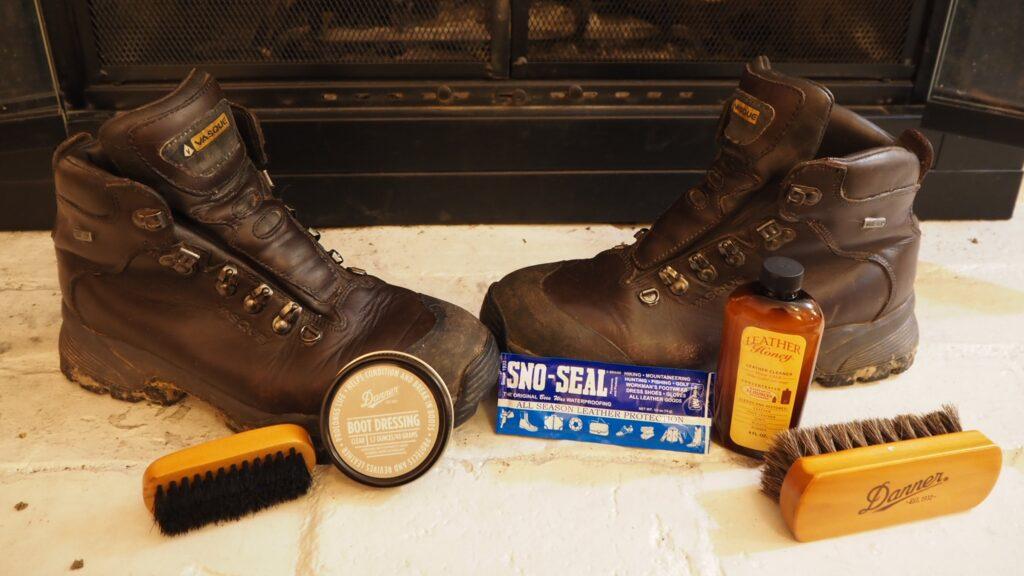
- Start by removing the laces and insoles from your boots. It is advisable to remove the sections of your boots that tend to gather moisture as it will facilitate cleaning of the other areas. Additionally, it will allow you to clean and polish the lace holes and metal hardware. To help dry out your insoles and remove any odors, sprinkle them with a bit of baking soda.
- Use a stiff nylon shoe brush to brush off any dirt deposits from your boots. If you don’t have a shoe brush, damp paper towels will also do the trick. Pay particular attention to stubborn dirt that may have caked on the surface of your boots. In the case of salt stains, soaking your boots in water for an hour or two can help.

Washing Your Boots
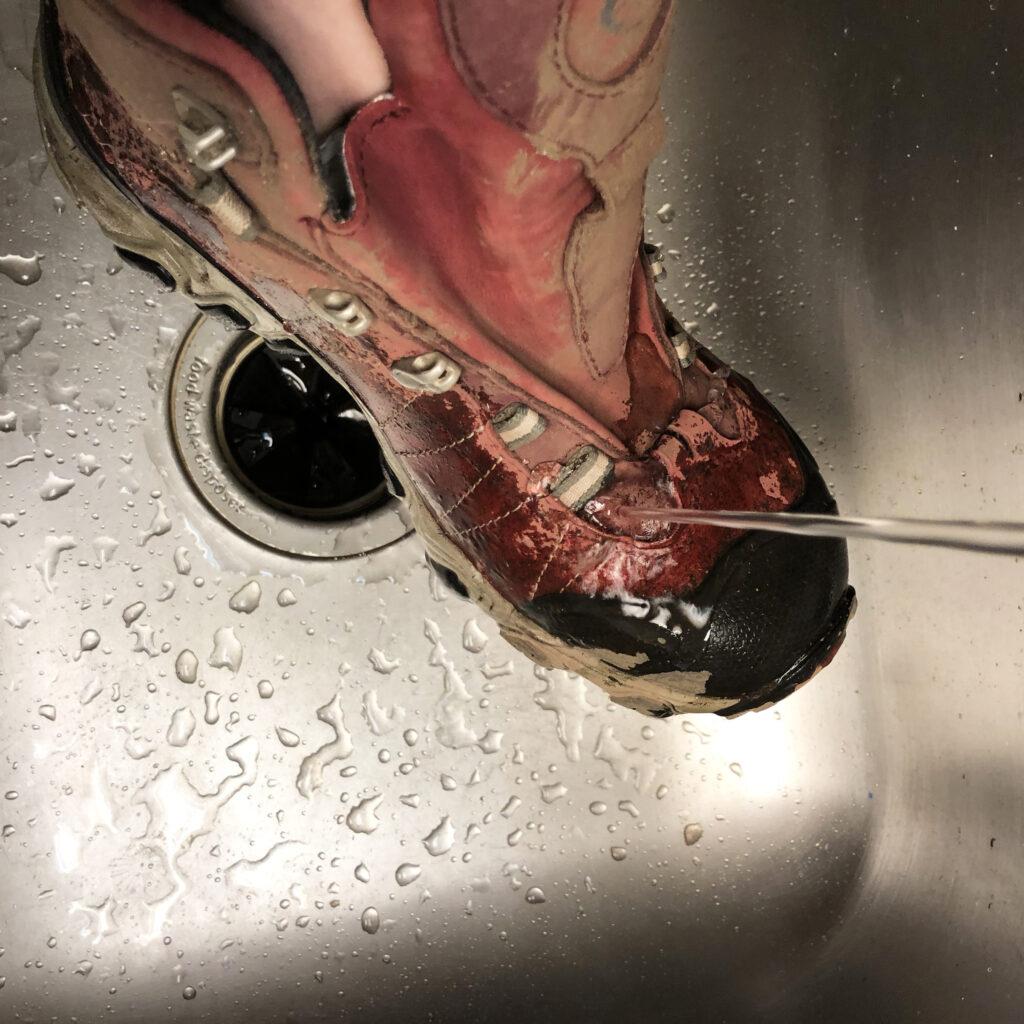
- Mix warm water with a mild dish soap to make your cleaning solution. This should be enough to remove most grime and stains from your boots. Take a soft cloth or a soft-bristled brush and scrub your boots with this solution. For stubborn stains, you might need to apply a bit more pressure. When it comes to maintaining your beloved suede boots’ high-quality appearance and durability, extreme caution must be taken with every cleaning session. For fear of causing damage or wear and tear on the delicate material, applying mild pressure is key. To get into all those nooks and crannies where dirt accumulates over time without sacrificing quality work, utilizing an old toothbrush may come in handy indeed! If there are any scuffs that don’t come off with dish detergent, try using a pencil eraser.
- It’s time to move on to the rinsing phase once your boots have undergone rigorous scrubbing.Rinse your cloth under warm water to wash out the soapy residue, or just grab a new wet cloth. Use this cloth to wipe off the soap from your boots. Be sure to rinse and squeeze out the cloth whenever it gets too soapy, and continue wiping your boots until all the soap has been removed.

Dealing with Sticky Substances
- If you’ve got sticky substances like sap, wax, or gum on your boots, there’s a simple trick you can use: the freezer. Combatting unappealing smells wafting from your shoes can be achieved through a straightforward method: freezing. All you have to do is encase your boots within a bag suitable for the freezer, then store them inside that chilly compartment. Leave them there for an hour or two, or until the sticky spot has hardened. This will make it easier to remove these pesky substances.

Drying Your Hiking Boots
- To ensure that your hiking boots stay in excellent condition after being thoroughly cleaned is by drying them appropriately. Once back from an adventurous hike, it’s critical that one sets aside sufficient time towards starting this process promptly. Time is of utmost importance solely because soaked boots can take around a week before fully drying out; hence prompt action should be taken.

Storing Your Hiking Boots
- Before bidding farewell to your hiking boots for the season ensure they’re stored correctly. Keep them safe from damage by placing them in a dry and cool location void of any pesky critters.
Condition Your Boots
Understanding the importance of conditioning and waterproofing your hiking boots is crucial for any outdoor enthusiast. This process not only maximizes your boots’ durability but also ensures they provide optimal performance on your adventures. Let’s delve into the specifics of when and why to condition your boots, how to apply conditioner, choosing and applying a waterproofing agent, and caring for specific materials like leather, suede, and synthetic.
When and Why to Condition Your Boots
The perfect time to condition your hiking boots is when they start to look or feel dry, almost like a parched desert floor. The creases might be more prominent, and the leather may have lightened. However, keep in mind that over-conditioning can soften the leather, reducing the support your boots provide.
Conditioning is vital for maintaining the flexibility and durability of your boots. It replenishes the natural oils in leather boots, preventing them from drying out and cracking. Essentially, you’re nourishing the leather, keeping it supple and resilient, much like using moisturizer on your skin.
How to Apply Conditioner
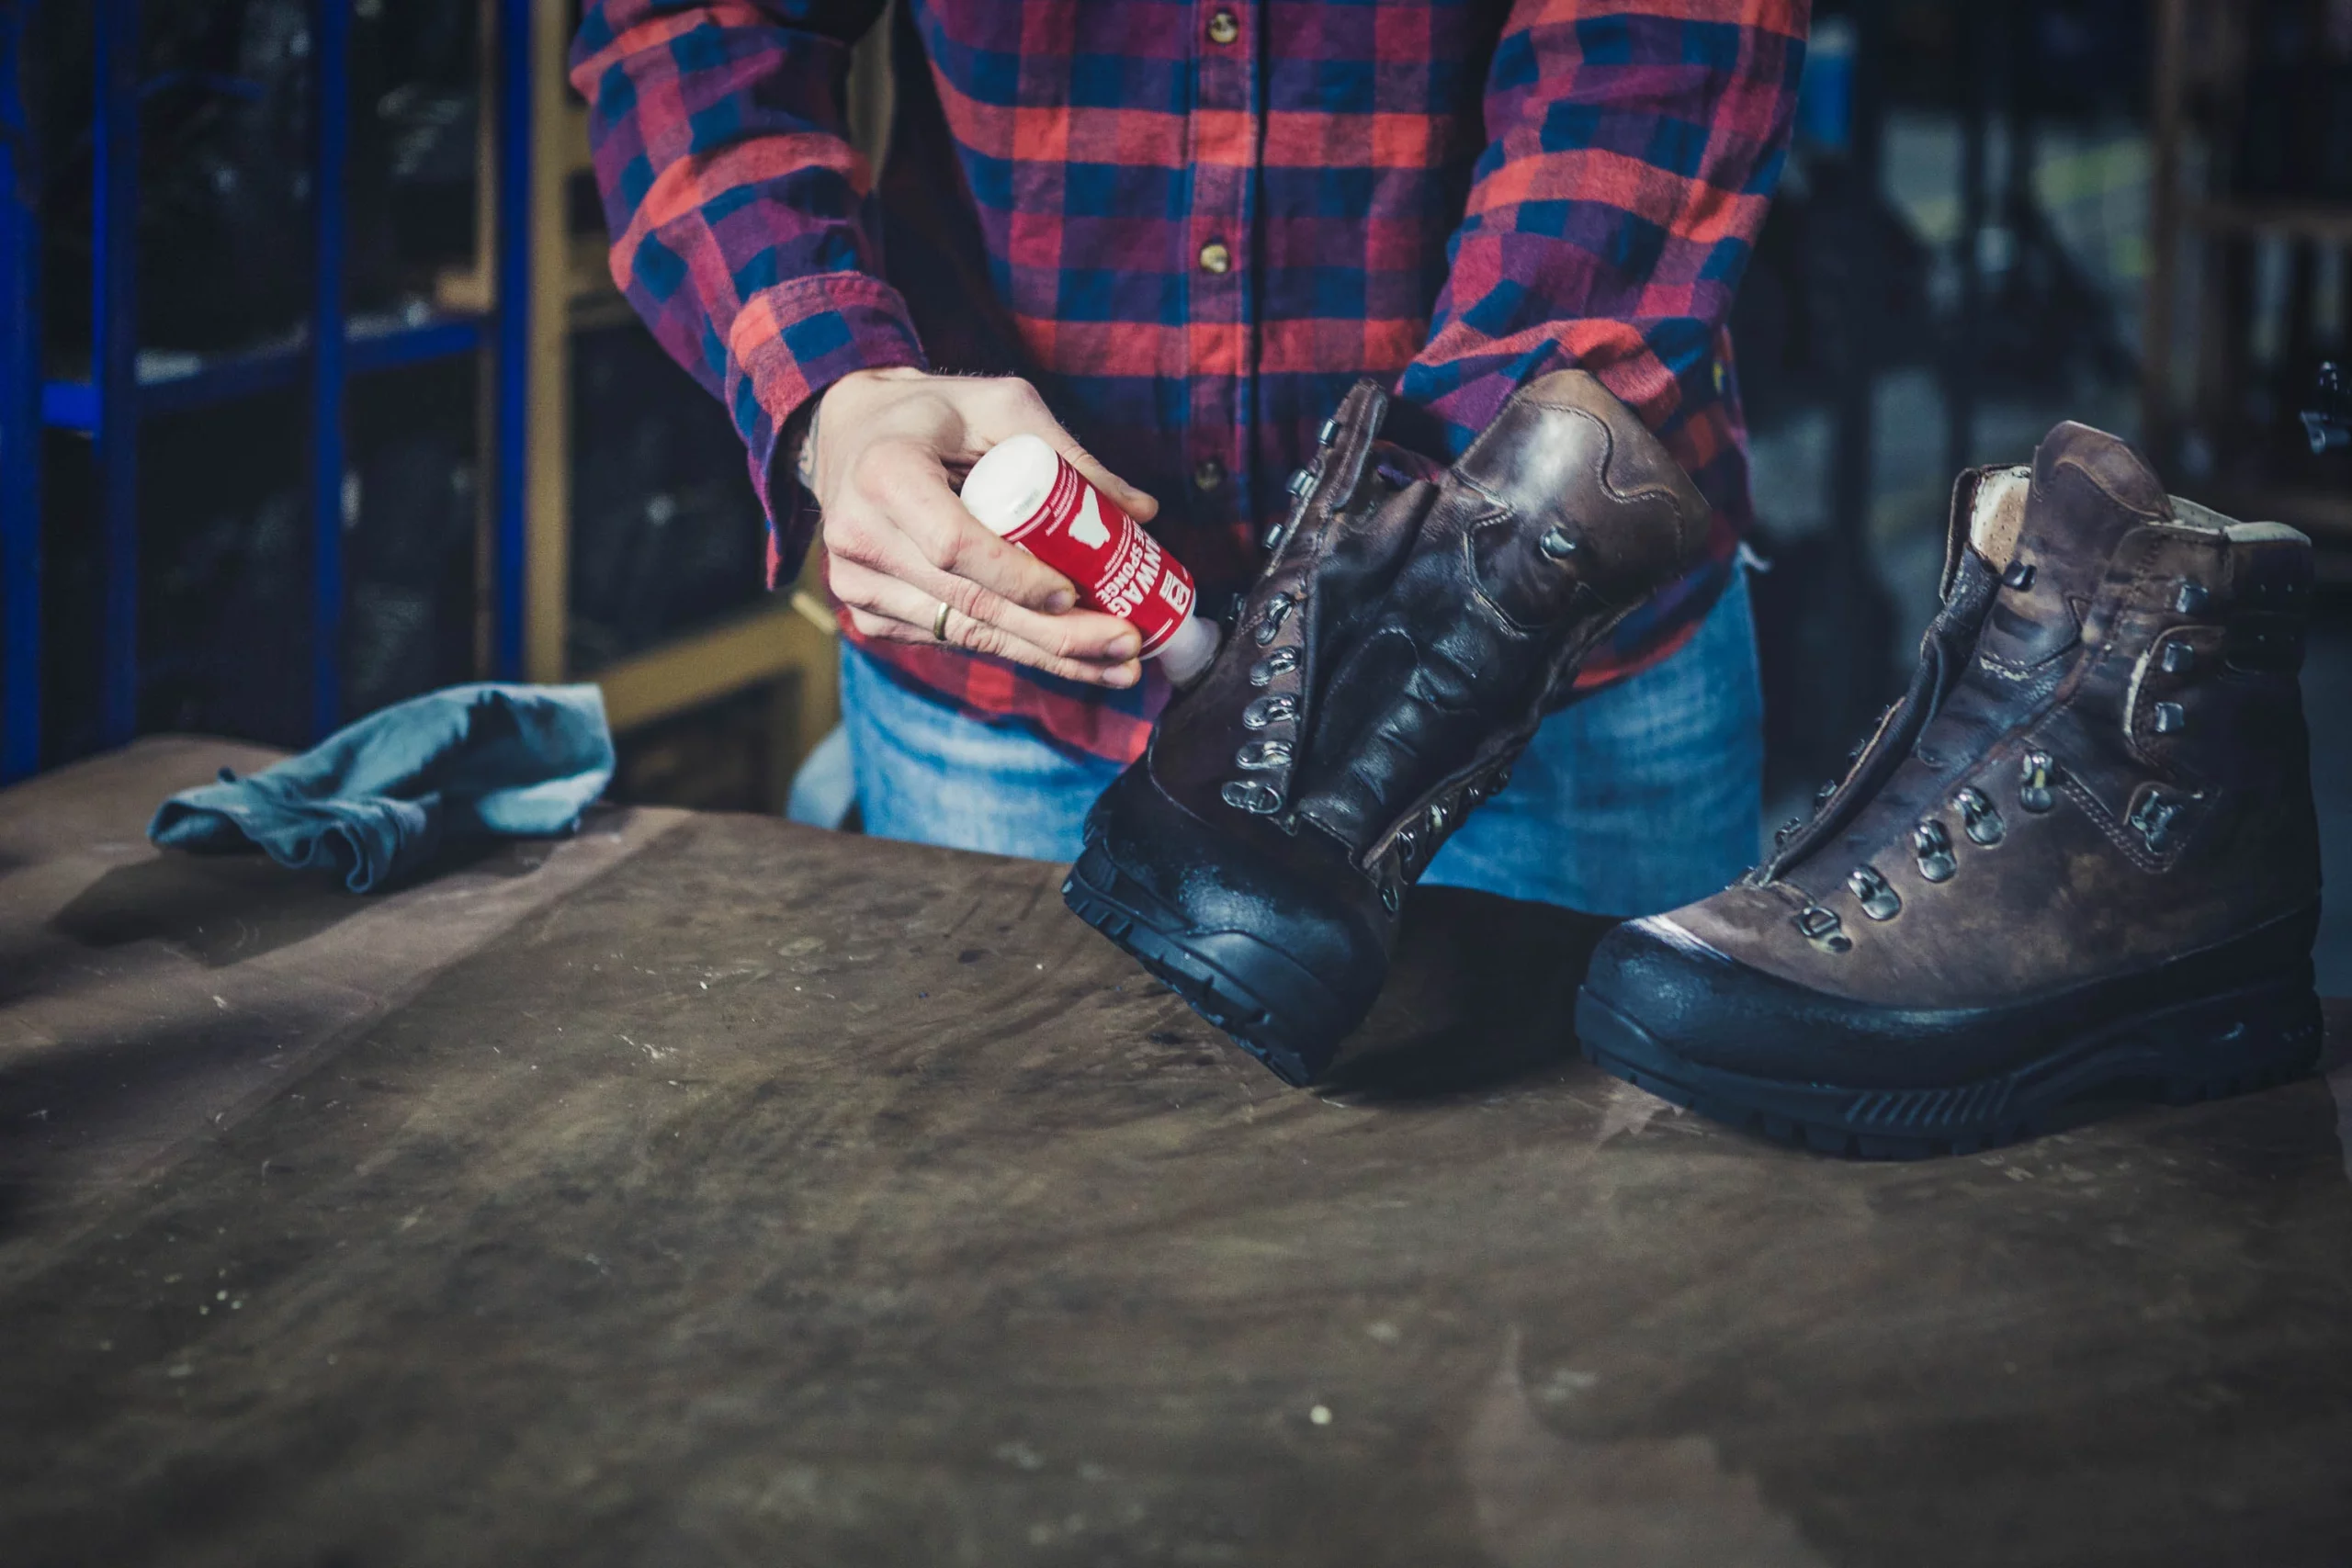
Applying conditioner to your boots is a straightforward process. Begin by cleaning your boots thoroughly to remove any dirt or grime, as conditioner is most effective on clean surfaces. For optimum conditioning of leather goods, softly rub the conditioner onto the material using a cloth in circular motions. Be sure to pay attention to every seam and crease for comprehensive conditioning. Allow the conditioner to soak in for a few minutes before wiping off any excess. Remember, a little goes a long way, so use sparingly.
Choosing and Applying a Waterproofing Agent
Waterproofing your boots increases their resistance to water, ensuring your feet stay dry in wet conditions. When choosing a waterproofing agent, consider the material of your boots. Different materials require different types of waterproofing agents. For instance, silicone-based products work well with synthetic materials, while beeswax-based products are better for leather boots.
Application is similar to conditioning. Make sure your boots are clean and dry. Apply the waterproofing agent evenly across the surface, paying close attention to the seams, which are often the most vulnerable to water leakage. Let the boots dry naturally after the application.
Caring for Leather, Suede, and Synthetic Materials
Different boot materials require different care strategies. For leather boots, regular conditioning and waterproofing are essential. Avoid exposing them to direct heat, which can cause the leather to crack.
Suede boots need a gentle touch. A savvy approach is employing a gentle touch via soft-bristle brushing when tidying up your beloved pairs. As an additional safeguard against weather-related wear and tear, furnish them with an optimal shield in the form of specially formulated suede waterproofing spray.
Maintenance for synthetic boots, which can be crafted from materials like nylon or polyester, is typically straightforward. Regular cleaning with mild soap and water should suffice. Use a silicone-based waterproofing spray for these boots for the best results.
Maintaining Hiking Boots

Maintenance Tasks
To ensure your hiking boots remain in top condition, routine checks and maintenance are essential. This includes regular cleaning after each hike and drying your boots thoroughly before storage. Maintaining the durability and usefulness of your boots necessitates a commitment to ongoing inspection. Specifically, it requires staying vigilant for signs of deterioration like loose stitching worn-out soles, or damaged padding. Regular conditioning and waterproofing treatments will also keep the material of your boots resilient and ready for your next adventure.
Identifying and Fixing Common Issues
Despite best maintenance practices, boots may develop issues over time. These could include loose or broken laces, worn-out soles, or leaks in the waterproof lining. Most of these issues can be fixed with simple repair solutions. For instance, laces can easily be replaced, minor abrasions can be fixed with a repair kit, and leaks can often be remedied with a fresh coat of waterproofing treatment.
When to Get Professional Boot Repair
Sometimes, boot problems extend beyond simple DIY fixes. If you’re dealing with more significant damage, like a detached sole or a tear in the upper part of the boot, it might be time to seek professional help. Many shoe repair shops offer services specifically tailored to hiking boots, ensuring that your boots get the expert care they need.
Replacing Your Hiking Boots
As time goes on, it reaches a stage where swapping out your footwear proves more economical than repeatedly patching them up. If the soles are worn beyond repair, the support has significantly diminished, or the boots no longer keep your feet dry and comfortable, it’s probably time to invest in a new pair. Embarking on a hiking excursion demands diligent attention to safety and comfort. Part of this involves regular assessments of equipment – particularly footwear – which may need replacing from time to time. Don’t compromise either factor by hesitating; restore the integrity of your gear as necessary.
Conclusion
From top to bottom, we’ve crafted a thorough guide covering all aspects necessary for properly cleaning and maintaining your hiking boots. We’ve discussed the importance of regular cleaning, drying, and conditioning, along with the right techniques for each process. We’ve also touched upon the importance of proper storage, routine maintenance, and repair for your boots.
Properly maintaining your hiking boots is crucial for a pleasant and secure trek. By heeding the subsequent suggestions and guidelines you’ll not only prolong the longevity of your footwear but also optimize its efficacy on all hikes.


